Installing an Ixian DLT Node on Windows
Prerequisites
- Operating system: Windows 7 or higher, Recommended Windows 10
- Alternatively: Windows Server 2008 R2 or higher, Recommended Windows Server 2016
- RAM: at least 16 GB
- CPU: i7/i9/Xeon or AMD equivalent processor with at least 2GHz and at least 8 CPU threads
- Free Disk Space: 1.5 TB, 2 TB Recommended
- Internet Connection Speed: 50 Mbps symmetrical or higher, 100 Mbps recommended
Additional requirements
- Ability to forward a port from the public internet to the machine running the DLT Node. (Default port is TCP 10234.)
- Install the dotnet 8.0 SDK following the guide here: DotNet Installation Guide.
Obtaining the software
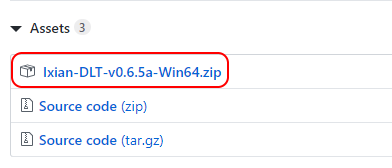
Visit the Ixian Github Releases page and obtain the latest available version as a ZIP package. The release file is available in the “Assets” section of each release announcement.
(Optional) Download and unpack the bootstrap data files for faster synchronization.
Follow the Data Bootstrap guide to download and install the latest data files.
The data from the archive should be placed in the same folder as the Ixian executables.
Running the software
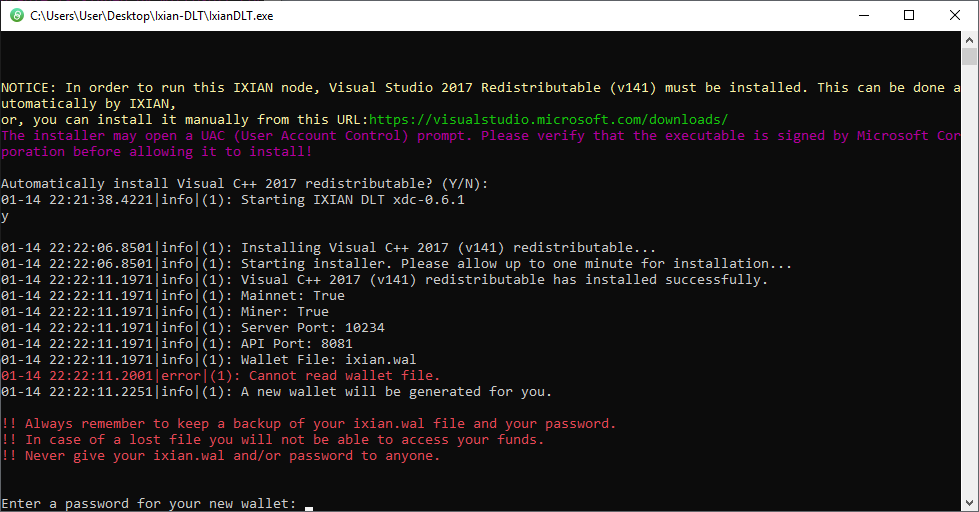
Unpack the archive and start the node by double-clicking the IxianDLT executable, or by issuing the command IxianDLT.exe from a console window. The output should look like this:
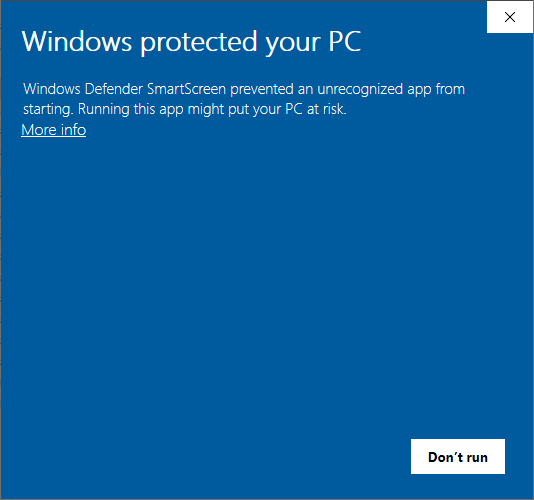
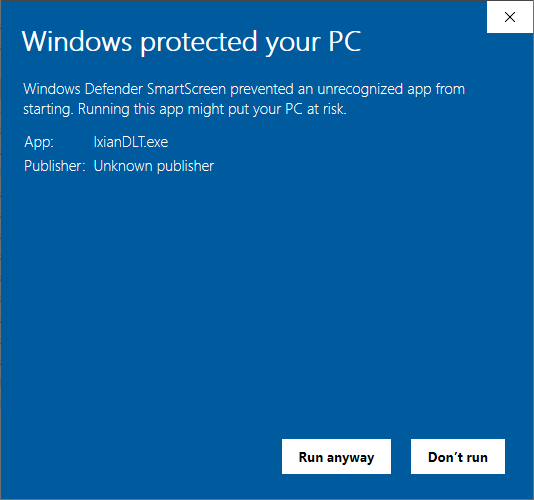
Note: When starting Ixian DLT software on Windows 10 operating systems for the first time, a Windows Defender SmartScreen might pop up that looks like the image below. You have to click on “More info” and then “Run anyway” to proceed. This is expected and occurs because Ixian does not yet have a code signing certificate in this early stage of development.
Creating a wallet
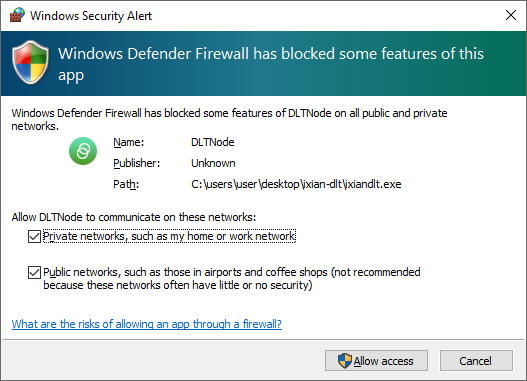
If this is the first time that you’re starting Ixian DLT, a new wallet will be generated for you. You have to set your new wallet’s password to proceed. This password will be used to encrypt the ixian.wal wallet file and will be required every time you start the Ixian DLT node. Additionally, if this is the first time that you’re starting Ixian DLT, a firewall window may pop-up (as seen on the image below). Select private and public networks and click “Allow access”.
It is recommended to periodically copy the wallet to a safe location, preferably on an offline media (USB Key), or a different machine. The file is encrypted using AES256. The wallet file is called ixian.wal.
Verifying the status of the DLT Node
While the node is running, it will display a logo and some basic information in the command window. Please do not close this window, as closing it will cause the DLT Node to shut down.
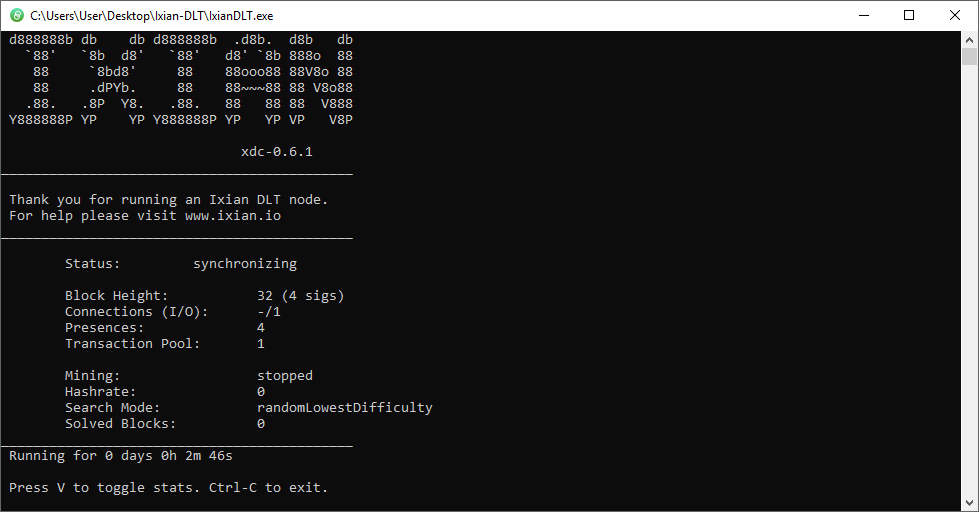
When the Ixian DLT Node first starts, the status text will display synchronizing while the software is retrieving the required information from the DLT network. When this process has been completed, the status text will change to active.
If the DLT Node is shut down and later restarted, it will have to synchronize again, but since most of the data will already be stored on the local disk, the synchronization phase will be much shorter.
Using your Ixian wallet
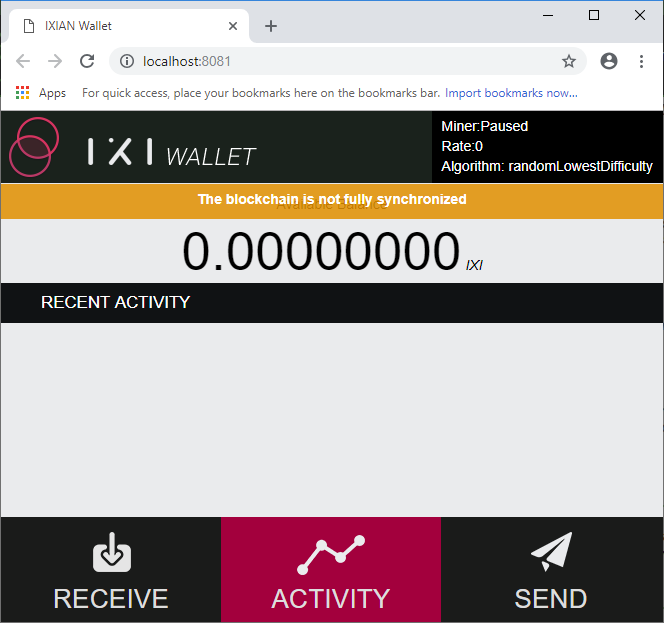
In order to interact with the running DLT Node and use the built-in wallet software, open a web browser and navigate to http://localhost:8081.
If you have configured a different API Port, then change the port number in the link like so: http://localhost:PORT_NUMBER.
The Ixian built-in Wallet looks like this:
Changing the settings
Ixian DLT Node settings are provided on the command line when starting the IxianDLT executable. The most important parameters are:
- -p DLT Port: If you are for some reason unable to port-forward the default port, 10234, you may use a different port. The
-pswitch will change which port the software uses for DLT communication. - -i External IP address: The IxianDLT software will use UPnP to try and determine the external IP address of your node. If this fails for some reason, you can specify the external address using the
-ioption. - -a API Port: This changes the port on which the node accepts API commands, as well as the port on which the built-in wallet operates. If you provide a different API port, then the built-in wallet for the node will be at http://localhost:API_PORT.
- –threads: Tells the DLT Node how many threads to create for the internal Ixian Miner. Default is 2. Use
--disableMinerto prevent the DLT Node from mining IXI Coins. - –config Config filename: Tells the DLT node which config file to read from. Default is ixian.cfg.
- –help: Displays a short help with some other, less frequently used command options.
If you need to run the DLT Node with different settings, it can be tedious to type them out every time you wish to start the software. It is recommended to create a batch file (.bat) with the options already set. To do this, follow the guide below:
- Toggle showing file extensions in Windows Explorer:

- Browse to the unpacked Ixian DLT folder.
- Create a new text file and change its name to “Start Ixian.bat” (note the changed extension from .txt to .bat). Windows will ask you if you really wish to change the file’s extension, which you should confirm.
- Type or paste the IxianDLT command into the file. You may use the command below, which includes the most common options, as the starting point.
IxianDLT.exe -p 10234 -a 8081 --threads 2 - Use the new “Start Ixian.bat” file to start the DLT Node with the specified options.
- (Optional) Disable “Show file extensions” in Windows Explorer in the same way you enabled them in step 1.
Upgrading the DLT Node software
When a new version is released, you can upgrade the software using the following checklist:
Note: It is recommended to backup the wallet file ixian.wal before performing any upgrade or changing any settings on the command line.
- Shutdown the Ixian DLT Node.
- Obtain the new release package from the Ixian Releases Github page.
- Extract the contents of the release package and overwrite files.
- Start the Ixian DLT Node again. The node will use the existing wallet file and downloaded data, so it will not need to generate a new wallet or synchronize again.
